> For the complete documentation index, see [llms.txt](https://docs.gangstaverse.co/llms.txt). Markdown versions of documentation pages are available by appending `.md` to page URLs; this page is available as [Markdown](https://docs.gangstaverse.co/tutorials/setting-up-your-metamask-wallet.md).
# Setting up your MetaMask Wallet
This tutorial will help you get started on this new journey. First things first, you will need a wallet for transactions on the BASE blockchain. There are many wallets that you could use, however, we will be discussing two self-custody wallets (MetaMask and Coinbase Wallet) to get you started. You can choose any of these.
For this article, we will be focusing on **MetaMask**, and going through the steps of how you can set up your first MetaMask wallet.
### MetaMask
MetaMask is available on browsers (as an extension), iOS, and Android. We will be talking about how to set up the wallet on a browser, but the process is the same on iOS and Android.
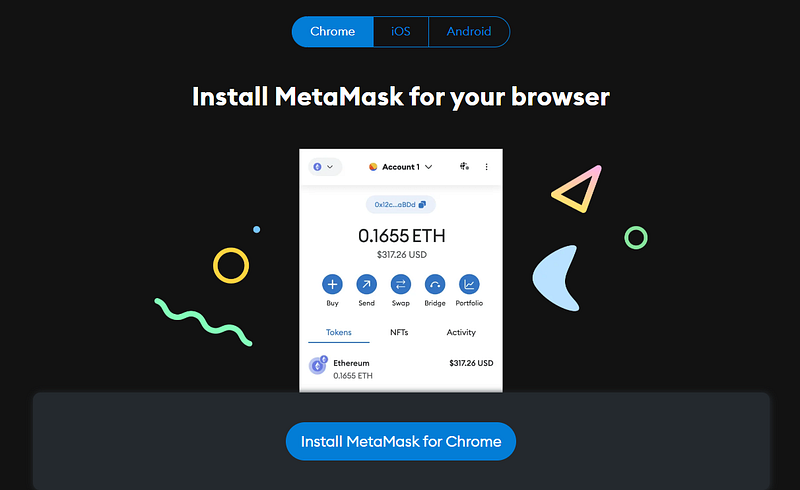
To get started with setting your MetaMask wallet, head on over to their download page:
It should show up like this on a PC.
1. Click on “Install MetaMask for Chrome”, (switch to iOS or Android if you are on those platforms). This will take you to the Chrome web store.
2\. Click on “Add to Chrome”
3\. It will ask for your confirmation to add the extension, click on “Add extension”.
4\. Wait for it to download and install successfully.
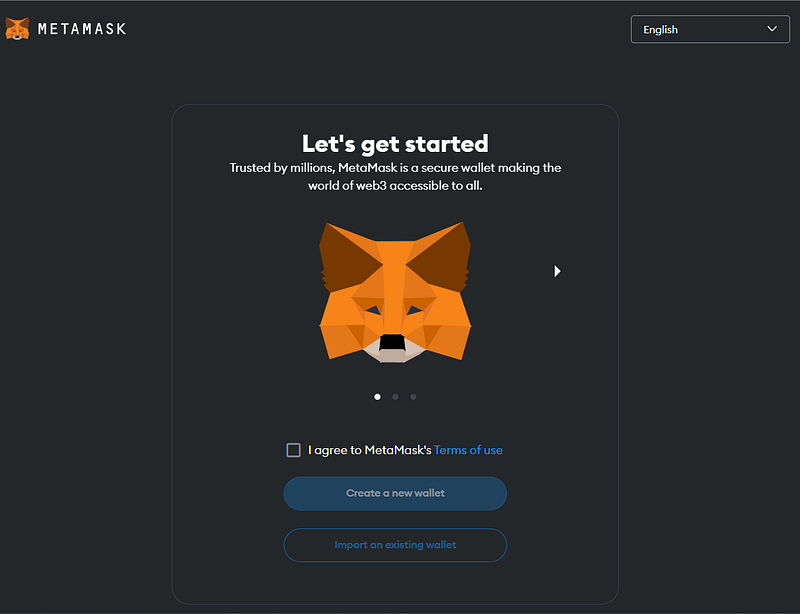
5\. After a short while a tab should open up asking you to agree to MetaMask’s Terms of Use, go through it if you want to, and click on the check box.
6\. Click on create a new wallet.
7\. You will be presented with their data collecting policy, you can agree or select “No thanks”, this will not affect your wallet.
8\. After that, you will be asked to create a password to access the wallet. Make sure to create a strong password that you will remember. Click the checkbox and click on “Create a new wallet”
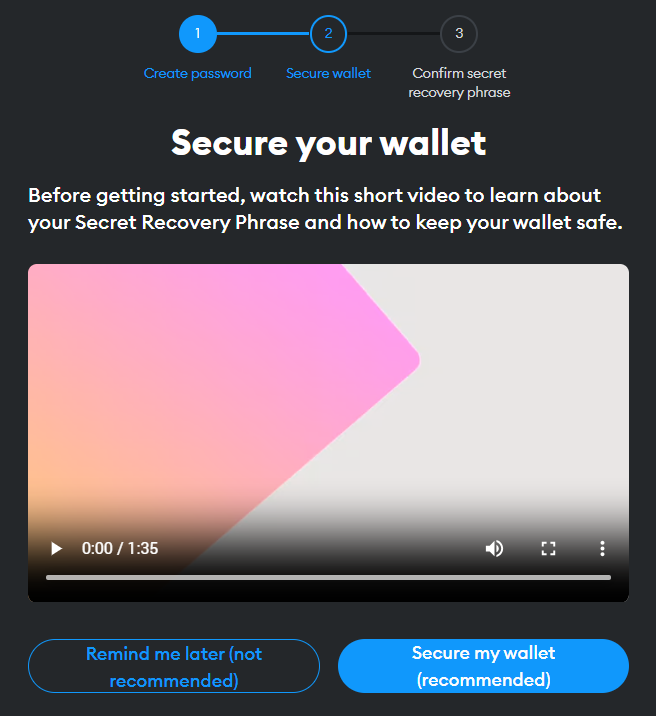
9\. Next up it will ask you to secure your wallet, we highly recommend you do so. This will generate a Secret Recovery Phrase for your wallet which will give you complete control over the wallet.
(The video and the text on the screen explain it in more detail, if you are new to crypto, we recommend you take some time to watch the video). Thus, click on “Secure my wallet”.
10\. Next, you will be presented with the screen above, click on “Reveal Secret Recovery Phrase” to reveal it and store it somewhere safe. It is very important that you store it somewhere that no one else can access it. After you are done, click on “Next”.
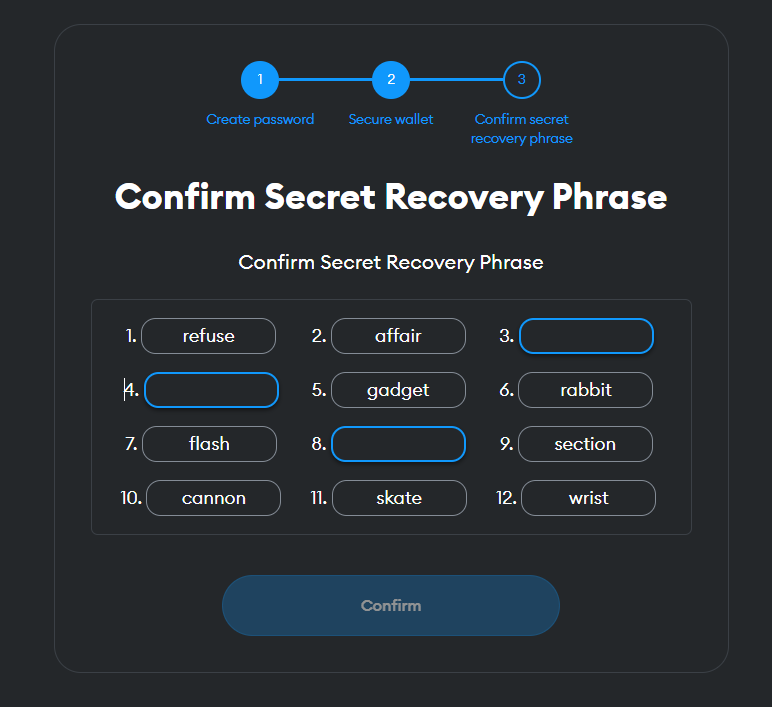
11\. The wallet will check to see if you copied the seed phrase, fill in the blanks with the words that you have in your seed phrase, and click on “Confirm”.
(It won’t allow you to go ahead until you get it right.)
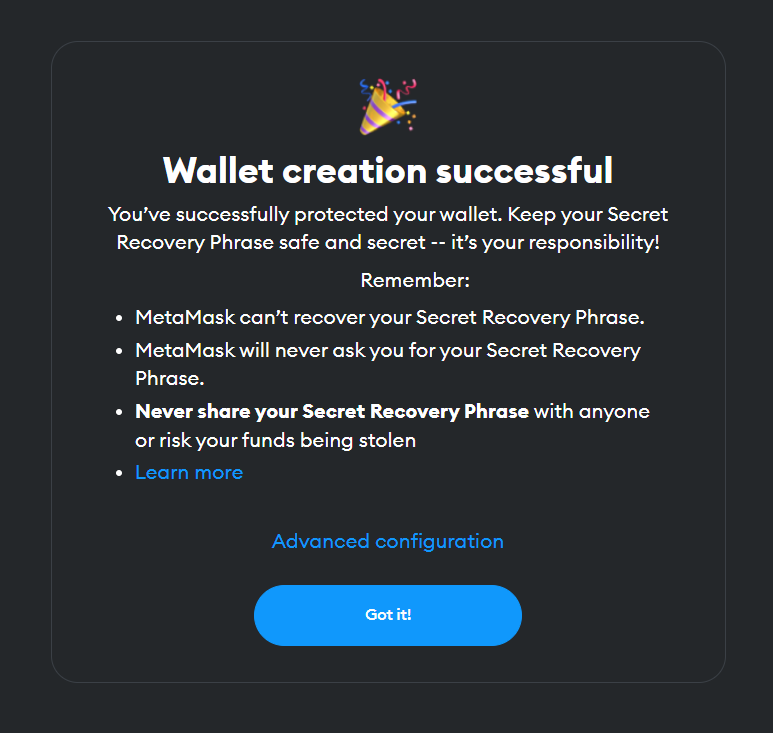
12\. After you are done with that, Congratulations, you have created a MetaMask wallet. Click on “Got it !” to access the MetaMask dashboard.
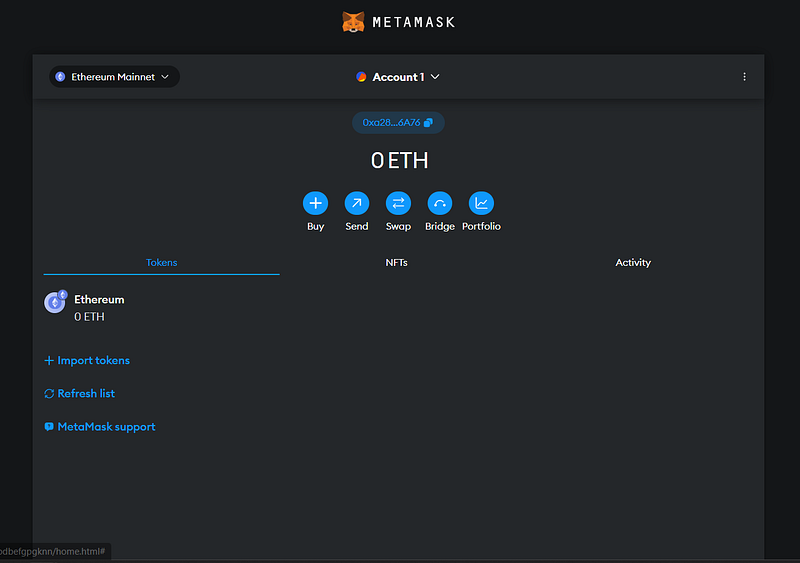
13\. This is your dashboard, you are currently on Ethereum Mainnet, we need to change that, click on “Ethereum Mainnet”
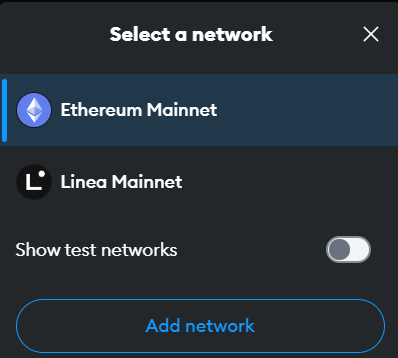
14\. This window should pop up, click on “Add network”.
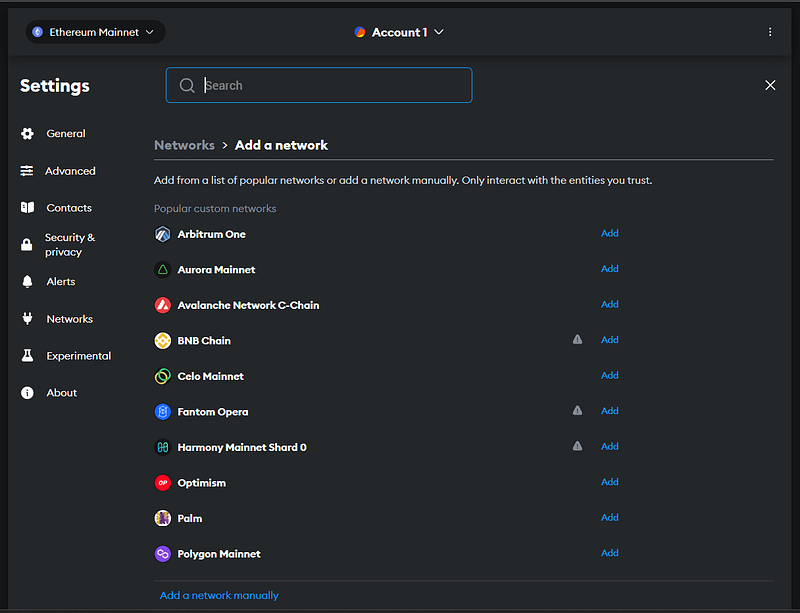
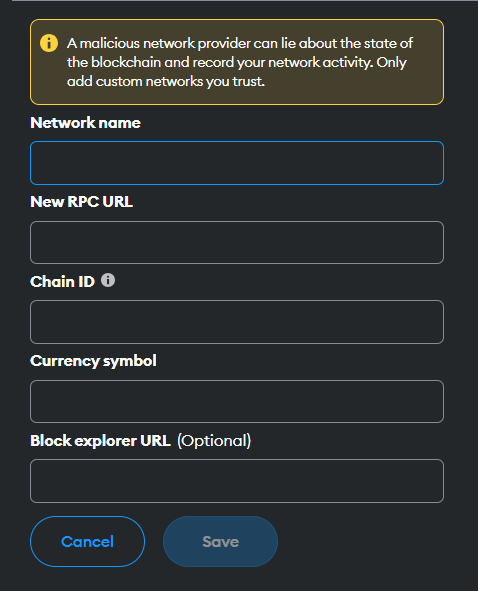
15\. This will show a list of all the networks available, we need to add one manually for BASE. Click on “Add a network manually”.
16\. You will need to fill this, form with the following information, this is sourced from the base doc [here](https://docs.base.org/using-base/#:~:text=To%20add%20Base%20Goerli%20as,Click%20the%20Add%20network%20button).
```
Network Name: Base Mainnet
New RPC URL: https://mainnet.base.org
Chain ID: 8453
Currency Symbol: ETH
Block Explorer URL: https://basescan.org
```
17\. Once you have filled in the details, click on Save.
18\. Click on Switch to Base Mainnet. And you are on Base Mainnet!
That’s it! Now you are all set up to play GangWars on Base!